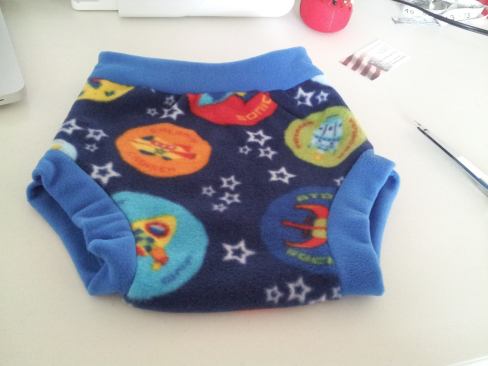
Last night I wrote about cloth trainers, promising to write a tutorial about how I have made cloth trainers that are working for my heavy wetting non-night trained children. T picks these over any other diaper in our stash. Not just because they are McQueen (not all of them but he has three or four McQueens) but because they look like real underwear and I imagine they are comfy since they are super soft.
I know my photos are not the best, but hopefully they will give you a good idea of what to do.
Let’s get started!
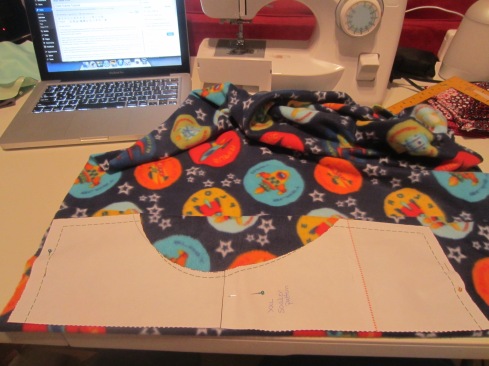
1. You need to go to Katrina’s blog and print off a copy of the pattern. Make sure you check your child’s measurements. I have found the measurements on the pattern to be very accurate. For my 3 year old I use the XXL pattern. Cut out the correct size and tape it together.
(NOTE: Make sure you are printing the correct pattern for your child’s size. The first pattern goes from Newborn to XL and there is another pattern that is XL to XXXL. There are also pieces for extra absorbent layer. You can print that out as well, although I have not found that it is really necessary, I have used the add layer on a couple of T’s pull ups but I have not found that it has been necessary. It is completely up to you.)
2. Take your fleece and find the stretch. It is important to lay the pattern correctly with the stretch. The original pattern has arrows to guide the placement on the stretch. The rule of thumb for the body part is to lay it so that the stretch is from hip to hip. For the waist, have the stretch go with the length of the waistband. For the legs, also with the length.
3. Once you have found the stretch of your main fabric (in this case the space ships) fold a portion of it over so that there is just enough room to place the pattern piece on it. Pin pattern in place and cut it out.
4. Repeat the process with the inner layer. I like to use antipill fleece for the outer and microfleece for the inner layer. The microfleece is nice and soft, and it is super thin. It can be a bit tricky to work with though, because it is a little bit stretchier. It is perfectly fine to just use whatever fleece you can get your hands on, and watch for sales/coupons at your favorite stores for the best deals.
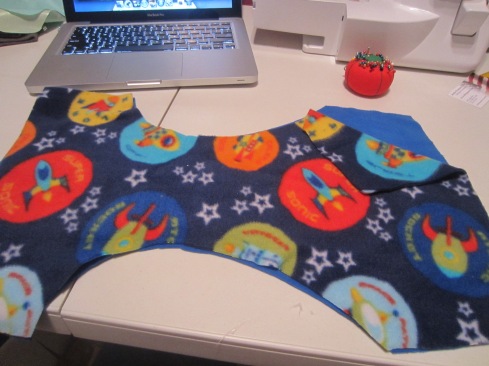
5. Unfold your two pieces and place wrong sides together. If using solids, it is less important which side is right and which side is wrong. If you are using a print, make sure it is on the top.
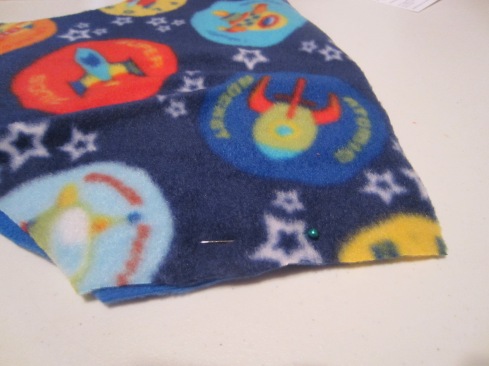
6. For now, pin the sides (which will be the hips) together so that the two layers are held together securly.
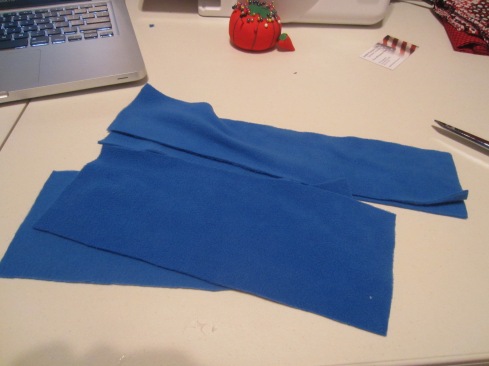
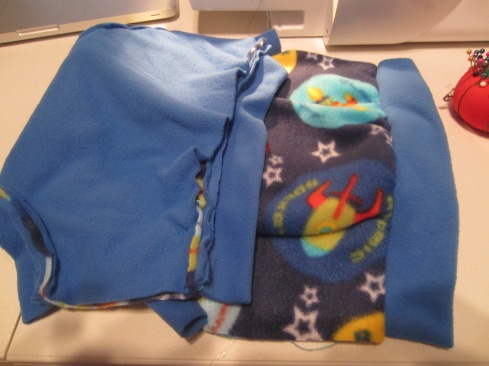
7. Cut out your leg pieces and your waistband. I cut my waistband in half but leave the leg pieces the full length, as in the original pattern. You’ll end up with two leg pieces and two waistband pieces.
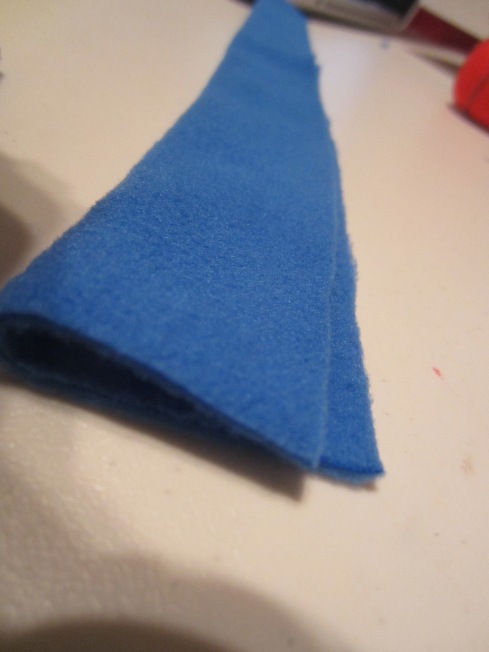
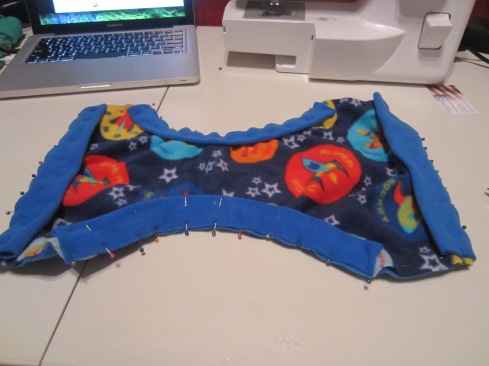
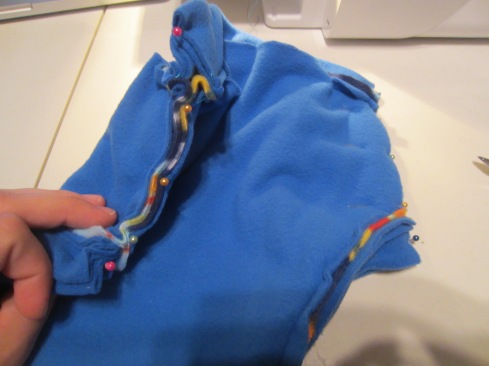
8. Fold your pieces in half lengthwise. Now comes the trickiest part. You are going to pin your pieces into place. The leg pieces need to stretch out to fit along the curve of the leg hole, raw edges together. Make sure you pin it onto the front of the trainer. This way after you sew it and flip it into place, the stitches will be hidden.
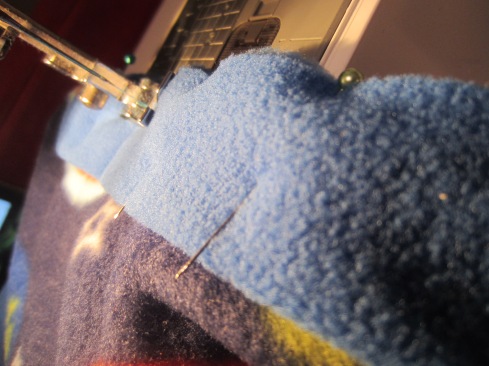
Tip: To make this easier on me I like to pin the ends first, next the middle, and then stretch the leg piece so that it will fit into place. Use a lot of pins to make it easier to sew.
9. Repeat with the other leg piece. You can choose to sew into place now or wait until the waistband is in place and sew all pieces into place at once.
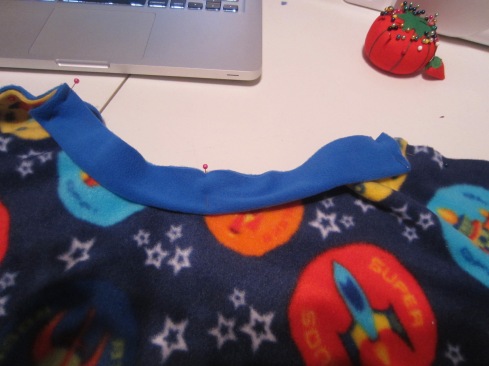
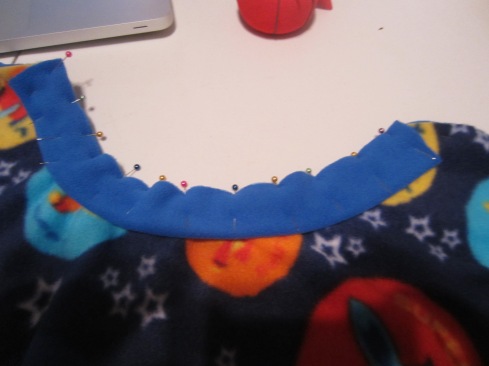
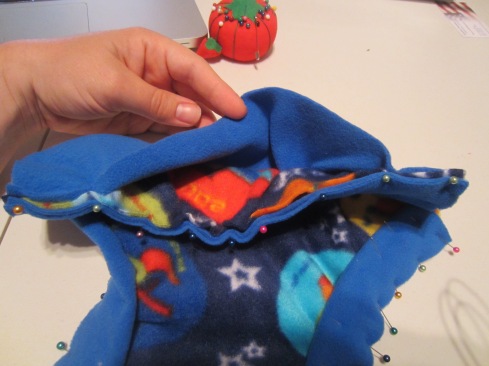
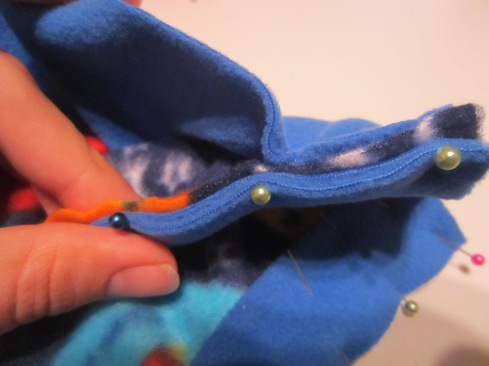
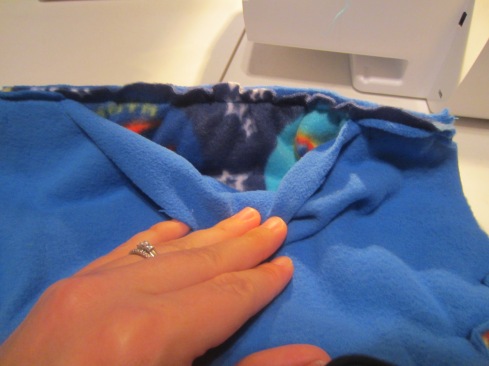
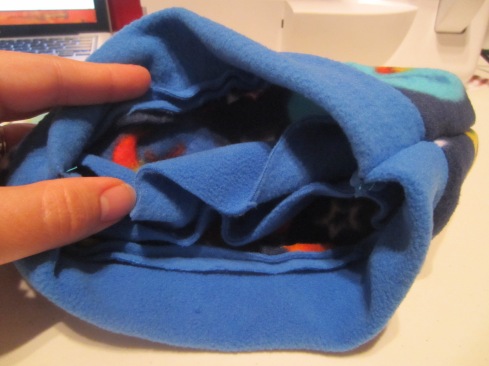
10. Now you are going to create your pockets. Fold your waistband in half lengthwise. Pin the ends onto the top of the pull-up. Pin the waistband, and both layers of the pull up together for the first inch or so on both sides. After that, simply pin the waistband in place on just the top layer (in my case the space ship fabric). Make sure that the middle portion of the waistband is not being attached to the inner fabric or you will not have a pocket.
11. Repeat on the other side.
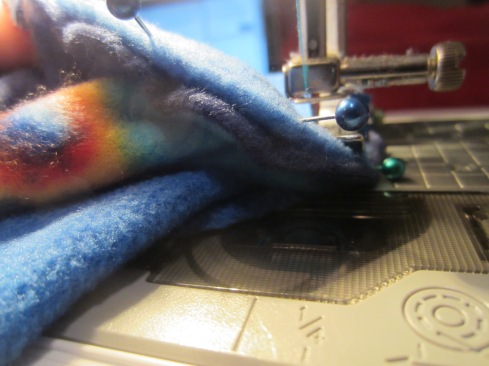
12. Now is when I take the pull up to the sewing machine. Sew the legs (if you haven’t already) and waistband into place. Be careful when sewing the waistband not to stitch the pocket closed. Pull the pocket material out of the way for the middle of the wasitband. Remove all pins.
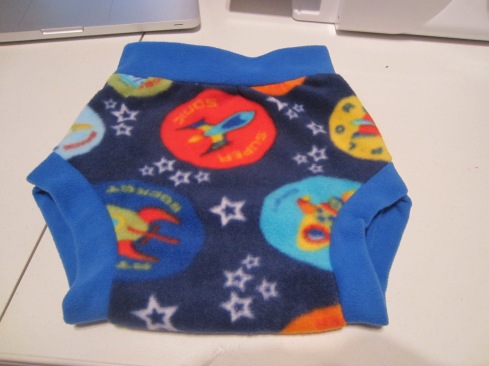
13. Place hip pieces together, right sides touching (the space ship fabric will be touching itself), pin in place, and sew together on both sides. (Another option is to use your serger to create a more professional looking seam. )
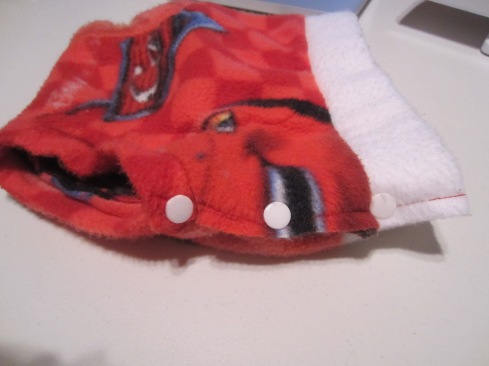
The other option is to add a small hem to each hip place and to attach snaps. Snaps are perfect for children who are prone to pooping in their pull ups. It will help to avoid that horrible mess. (NOTE: I do not recommend using Babyville Boutique snaps. I would suggest purchasing KAM snaps as they are of much higher quality. Velcro is another option but is more likely to come off easily.)
Stand back and admire your work!
Hope that this helps some of you out there who are looking for a good pull up alternative.
(*NOTE: I am not claiming originality on this project. I am merely showing how I use Katrina’s pattern as a pull up for my children, combining ideas found on various cloth diaper forums. While I did not come up with the original idea, this tutorial, and the pictures contained within are purely mine. Please do not copy any portion of it but feel free to post a link to this page. Thank you!)
Blessings,



So, I’m new to this….but what do you put in the pocket? just a cloth diaper insert????
Yes. That would work. I like using a combination of hemp and bamboo. Another option is to fold up a prefold or a tea towel. Depends on the absorbency that your child needs. If you are concerned about heat, you can use a layer of stretchy fabric (some kind of knit) and the inside liner. It won’t be as absorbent but it will provide for a slimmer trainer that is a little less warm.
Did you use the Soaker Pattern for Fleece that she has listed or just the regular one? How big is your little guy? Thanks so much!
I used the fleece soaker pattern that she listed and I went up a size. At the time that I did this I believe he was right around 35 pounds. He is now over 40 and I have moved on to disposable because he just was peeing through EVERYTHING. (We are seeing a urologist about it as he pees more than is normal.) It did work well and was a wonderful solution. They were so comfy on them and the boys just loved them! Thanks for stopping by!
Thanks so much! My daughter is 34 lbs and she is only wet every few days but I don’t want to buy another box of pull ups 🙂 Thanks again!